How to Share VBA Macros
Overview
VBA macros, while powerful, are difficult to share. Because VBA scripts have been used in viruses, Microsoft has imposed security restrictions that make it difficult and intimidating to open spreadsheets with unsigned macros. Previously unsuspecting Outlook users executed VBA code simply by opening an e-mail.
Office 2003 makes it much more difficult to execute any VBA script, improving security at the cost of ease-of-use.

By lowering the security level, users can still execute any VBA script. A better approach is to sign your macros with a Digital Signature using a Digital Certificate. This makes it easy for users to execute scripts from trusted sources, while blocking other possibly harmful scripts.
The steps here show an easy fast, way to get a free Digital Certificate that can be used to sign spreadsheets.
Steps
1. Get a Digital Certificate From A Certificate Authority
2. Signing Macros with Your Digital Certificate
3. Opening a Spreadsheet with Signed Macros
4. Opening Spreadsheets with Unsigned Macros
1. Get a Digital Certificate From A Certificate Authority
Apply to a CA (Certification Authority) to request a Digital Certificate. This only needs to be done once. The certificate may be used repeatedly until it expires.
MS documentation directs you to several certificate authorities (CA) that make getting a certificate slow, difficult and expensive. Alternatively, MS suggests creating your own self-signed certificate, which is of limited usefulness to anyone other than the certificate holder. Ascertia is a CA that issues free digital as well as commercial certificates. The steps below describe how to get a free digital certificate.
Ascertia’s web pages have changed. Some of the details in the following steps are out of date.
Register at Ascertia
Note: Ascertia’s web site requires IE. The steps described here depend on it.
5. Register at http://www.ascertia.com/OnlineCA/issuer/default.aspx.
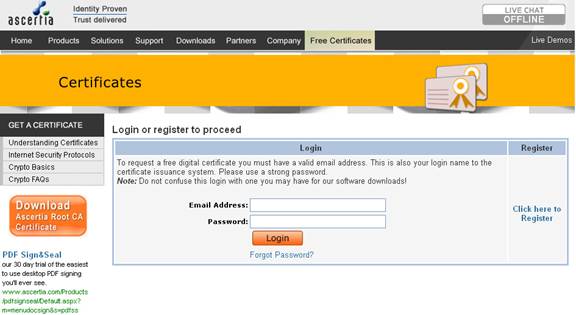
6. Click “Click here to Register”
7. Fill in the form. Check that your email address is correct, and that email from www.ascertia.com is not blocked or flagged as spam by your mail client (e.g. MS Outlook). You will need to respond to email from Ascertia to complete your registration.
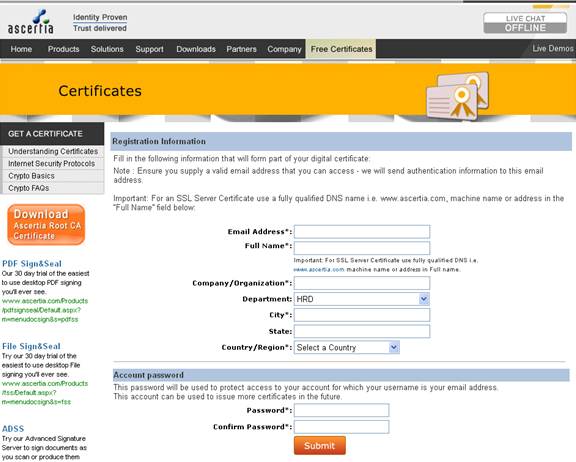
Request a Certificate
After registering/logging in this page appears:

8. Select the options as shown above.
Each option is explained in the ![]() link on the
right. Other options may work as well. These are what that worked for me.
link on the
right. Other options may work as well. These are what that worked for me.
9. Click [Submit.]

10. Click [Yes]
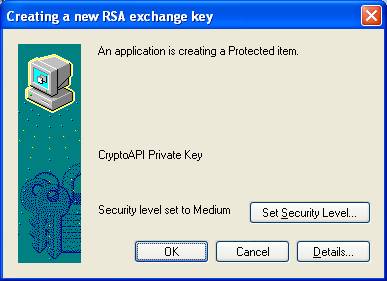
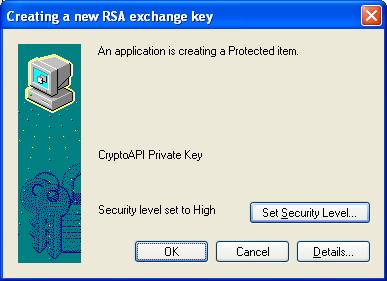
Security Level Medium only informs you when your private key is being used by an application running on your machine. You should set the Security Level to High to protect your private key from being used by anyone else.
11. Click [Set Security Level]
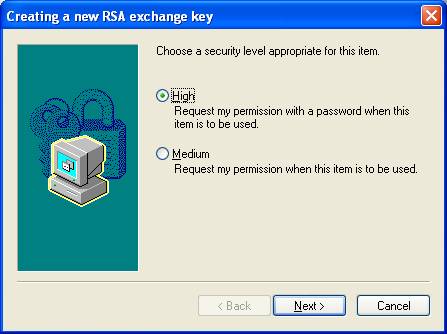
12. Click ( ) High
13. Click [Next]
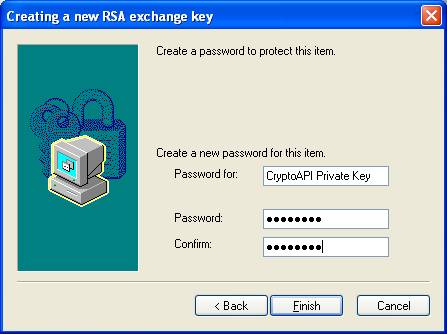
14. Enter a new password, twice.
15. Click [Finish].
16. Click [OK]
You have now created your digital certificate. It is stored on the CA’s web site. On the next web page you will install the certificate from the Ascertia web site to your computer using Internet Explorer.
Install the Certificate
Install the certificate on the machine where macros are edited, signed and saved. Digital Certificates contain two keys: a Public Key and a Private Key. The Public Key is used by anyone to safely access (decrypt) files from you. The Public Key ensures that the files were signed using the associated the Private Key. If a file is signed with an unrelated Private Key or the contents are modified the Public Key will not work.
Take care to keep the Private Key safe. The Private Key should only be used by its owner. Anyone who has access to your private key can sign files that will appear to be signed by you.
The Public Key which is embedded in the spreadsheet is available whenever the spreadsheet is opened.
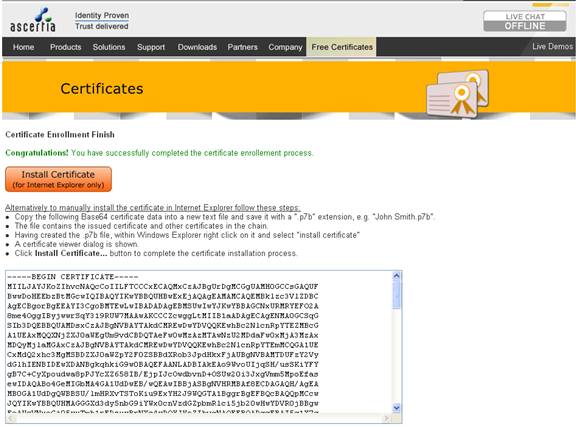
17.
Click [Install Certificate]. This
installs the certificate (with the private key) on your machine.
(Cutting and pasting the certificate text does not include the private key. A
.p7b file cannot be used for signing. It does not contain a private key. It may
be used to distribute your Public key, but this is not generally necessary,
since the certificate is embedded in the file with the signed macro.

Click [Yes]
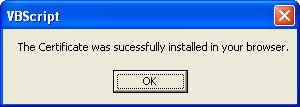
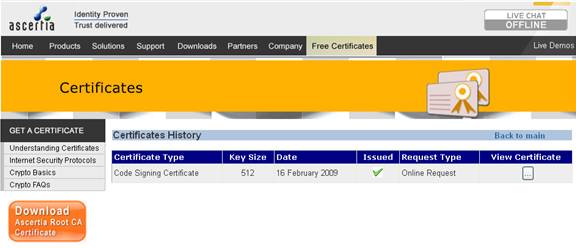
18. Click [OK]. This takes you to the Certificate History page.
Note: You may also install a certificate from a file, which is useful for users that cannot use IE.
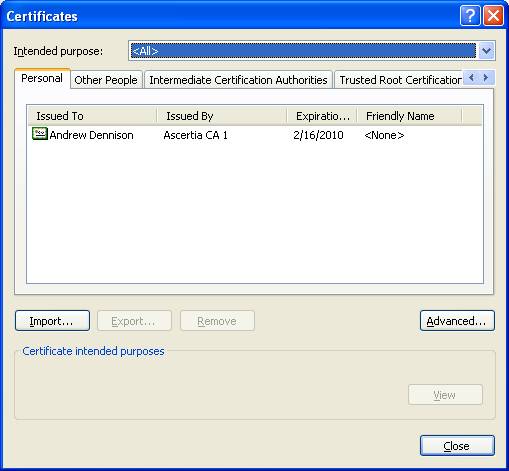
You may verify that your certificate has been installed. Internet Explorer > Tools > Internet Options > Content Certificates… > Personal
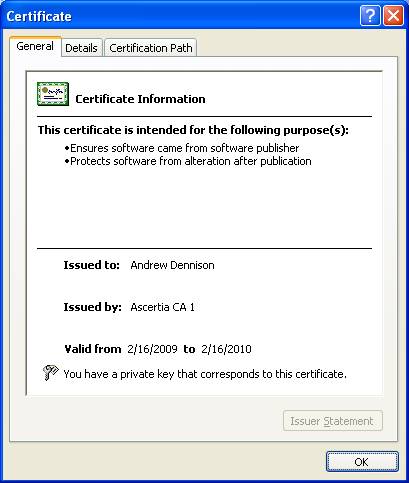
19. Double click the certificate to see its details.
20. Click Details
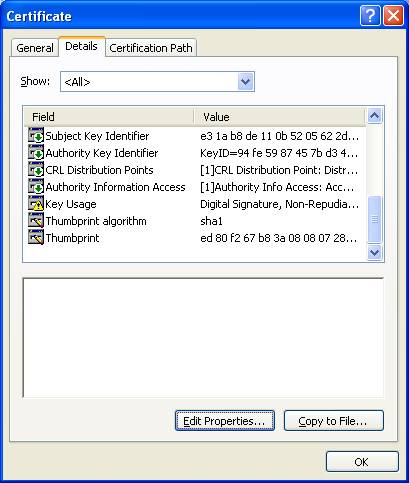
Edit Properties
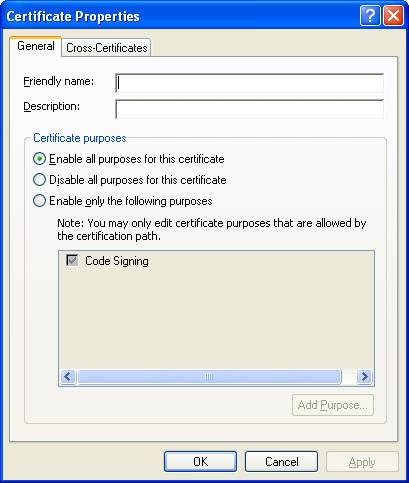
21. Here you can enter a friendly name and description which help you to identify this certificate.
22. Click [OK]
You may use [Copy to File] to export the private and public keys to a file. This is allows you to sign files when you are on another machine.
2. Signing Macros with Your Digital Certificate
Now that you have a Digital Certificate (with your private key) installed you are ready to sign some files. For these examples, we will use Excel 2003. Other applications use similar steps.
To Sign A Macro:
23. Open the spreadsheet that contains the macros. You may need to change your security setting to open the macros in the spreadsheet. See Opening Spreadsheets with Unsigned Macros
24. Open the Excel Macro IDE (Alt +F11)
25. Select the Project in the Macro Project Explorer (Ctrl + R)
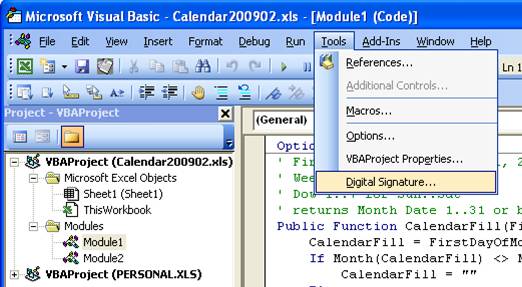
26. Click Tools > Digital Signature
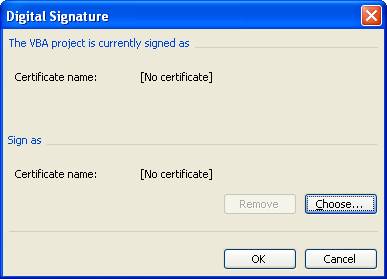
27. Click [Choose]

28. Note
that “Issued to” is not that helpful, but friendly name is.
Choose your certificate. Typically, this will be found under the “Personal”
tab.
The certificate must have:
· A private key;
· Intended Purpose equal to Code Signing (or <All>);
· An expiration date in the future.
· Click OK
29. Click [OK]
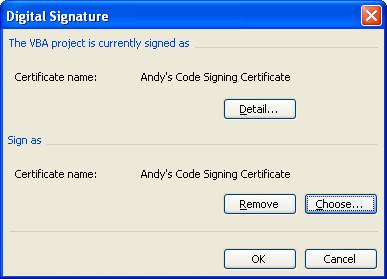
30. Click [OK]
31. In
the VBA IDE, click File > Save or the save toolbar button: ![]()

32. If you chose Security Level High when you installed your certificate, enter the password for your digital certificate.
33. Click [OK].
34. Close the Macro IDE and exit Excel.
If you make changes after signing the macro, you will have to sign it again the next time you save it.
3. Opening a Spreadsheet with Signed Macros
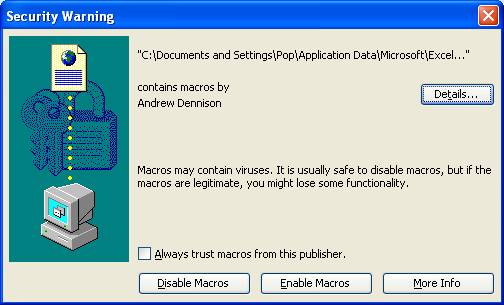
When a spreadsheet with signed macros is opened, Excel checks to see if the certificate has been installed. If has not the following warning appears.

35.
Note that [ ] Always trust macros from this publisher is not grayed out.
Check [X] Always trust macros from this publisher, if you do not want to be
warned every time you open this file or other files from the same person
(signed with the same certificate).
36. Click [Enable Macros] to enable the signed macros in this spreadsheet.
4. Opening Spreadsheets with Unsigned Macros
Overview
While signed macros are safer and more convenient, you may want to enable unsigned macros in a spreadsheet. You cannot enable unsigned macros unless the Security Level is Medium. To enable unsigned macros:
· Set the Security Level to Medium.
· Re-open the spreadsheet.
· Click [Enable Macros] on the Security Warning dialog.
Details
Security Level Medium is the best level for enabling unsigned macros. Security Level Medium prompts before enabling unsigned macros. Very High, and High security levels always disable unsigned macros. Low does not prompt at all, which is exposes your machine to all harmful macros
If the Macro Security Level is set to Very High, the spreadsheet may load without warnings if there are no macros that run on loading. Then, when the user attempts to use a macro, a warning appears.
Set Macro Security to Medium
To get past the “Security Warning”, click [Disable Macros]
or [OK].
(If the window is closed using [X], Excel opens with no spreadsheet loaded.
Then you cannot access Tools > Options in the next steps.)
37. From the main window of Excel, click Tools > Options > Security
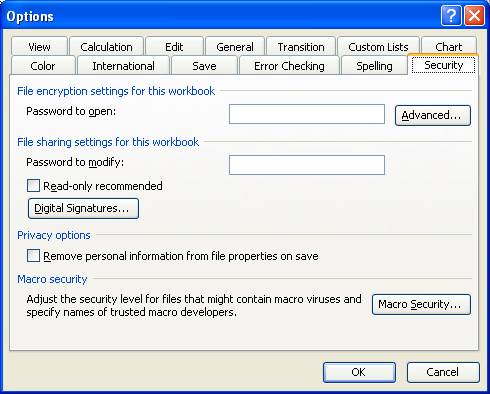
38. On the Security tab, Click [Macro Security], (near the lower-right corner of the window)
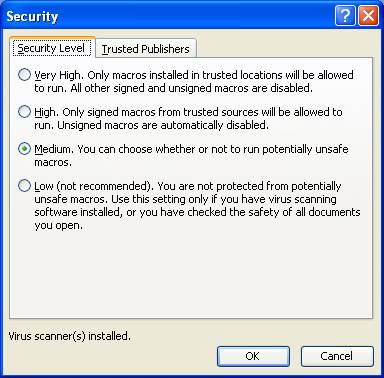
39. Click ( ) Medium for now. Excel prompts you each time you open a spreadsheet with unsigned macros.
40. Click [OK] to close the dialog.
Reopen the Spreadsheet
41. Restart
Excel from Explorer.
Note now when you re-open the spreadsheet with Security Level set to Medium,
[Enable Macros] is no longer grayed out.
42. Click
[Enable Macros] to re-open the spreadsheet with macros enabled.
Notice that you cannot check [ ] Always trust macros from the publisher. It is
grayed out.
Without a digital signature, you will always have to use Medium macro security
and click [Enable Macros]. If you do not read the details of the prompt, you
may inadvertently enable harmful macros in that spreadsheet. This why Medium is
not the preferred level of Security, and why signed macros with a digital
certificate are safer.
Potholes
There are a number of bumps along the way, that I call potholes. They won’t stop you completely; just give you a nasty jolt that wakes you up. Here are some I hit:
Different Digital Signature Types
There are different types of digital signatures which are used for different purposes. Spreadsheets may also be signed with digital signatures. This signature certifies that the contents of the spreadsheet has not been changed since it was signed. The digital certificate also indicates that the signature belongs to the holder of the certificate. This is a separate security feature unrelated to signing VBA macros. So it easy to get the different types of certificates confused.
Commercial and Free Digital Certificates
Ascertia has 2 different Login pages:
· http://www.ascertia.com/OnlineCA/issuer/default.aspx is used for obtaining free digital certificates.
· www.ascertia.com is Ascertia’s home page. You cannot login at the home page with the credentials that you used to register for free certificates. The home page will not recognize your ID, or email! It is easy to step into this pothole. Most Ascertia pages have a Login link to this page. You do not want to use this link for free certificates.